
In this tutorial, you will know all about how to change color in Photoshop by color replacement tool and how to use it to change the color of objects in images.
At first, we need to know why Photoshop’s Background Eraser Tool is one of the most excellent tools for eliminating unwanted background portions from an image. You might be asking why I brought it up. What does a tool for erasing backgrounds have to do with a tool for changing colors?
The answer is definitely yes! Both the Background Eraser and the Color Replacement Tool apply similar methods for finding pixels that need to change in an image. Only one erases pixels, while the other changes the color.
The Color Replacement Tool in Photoshop isn’t the most professional technique to modify colors in an image, and it doesn’t always generate an accurate outcome. Because it usually works well for simple tasks and is a simple tool to use. It’s helpful because you can replace the color without moving on to more complicated and time-consuming ways.
This tutorial has been completed with Photoshop CC 2021, but you can do it with any other Photoshop versions as per your choice.
Before starting, let’s know about the color replacement tool.
Table of Contents
What Is The Color Replacement Tool, And How Does It Work?
When you drag the Color Replacement Tool across your image, Photoshop constantly samples the color that’s directly under the crosshair in the middle of the cursor. This color will change, and your present Foreground color will take its place. Any pixels that match the color replaced within the big circle around the crosshair will change their color.
For example, if your Foreground color is set to green and you pass the crosshair over a red area in your photo, any red pixels that the larger circle passes over will be turned to green. We can change some settings in the Options Bar to change the tool’s functionality (which we’ll go over shortly), but that’s how it works.
Now, Let’s start the color-changing Process!
How to Use Color Replacement Tool in Photoshop
Step 1: Selecting the Color Replacement Tool
In Photoshop’s Tools panel, the Color Replacement Tool hides under the standard Brush Tool. To use it, right-click on a mouse (Windows) or Control-click (Mac) on the Brush Tool, then select Color Replacement Tool from the pop-up menu.
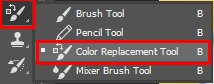
When the Color Replacement Tool is selected, your mouse cursor will transform into a circle with a bit of crosshair in the center. Because both programs use the same cursor, this will appear very familiar to you if you’re familiar with the Background Eraser.
Step 2: Select the Color
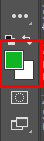
Look at the Foreground color swatch near the bottom of the Tools panel to see what your current Foreground color is. It’s set to black by default.
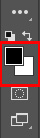
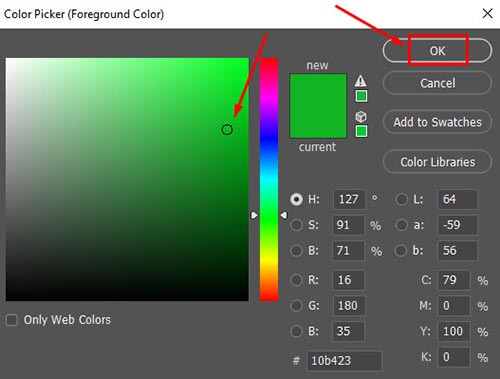
Click straight on the color swatch to change the Foreground color, then select a new color from the Color Picker. Here, I’ll go for the green. After completing the Process, click OK to exit the Color Picker.
When we return to the Tools panel, we can see that my Foreground color swatch has been updated to reflect the new hue that I chose. At this moment, if I use the Color Replacement Tool to paint on a picture, each color that I drag the crosshair over will be changed with green.
Step 3: Adjust the Brush Size
Like the other Brush tools in Photoshop, you can change the size of the cursor straight from your keyboard. To make the cursor smaller or larger, continually press the left bracket key ([) or the right bracket key (]). Add the Shift key to alter the hardness of the brush edges. To make the edges softer, press Shift+left bracket ([) continuously or Shift+right bracket (]) to make them harder.
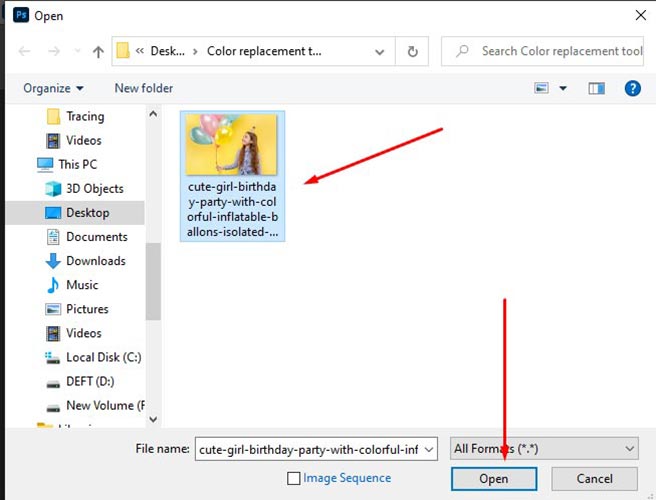
Step 4: Open the Image
Open the picture in Adobe Photoshop. To open it, press Ctrl + O on your keyboard. Here, we are going to use the below image.
Step 5: Drag the Color Replacement tool all over the Object
As you have already seen in step 2, we have selected the foreground color green. So, let’s put the color to a ballon.

I’ll move the crosshair over the blue balloon in the image and click my mouse button using the Color Replacement Tool. Two things happen as soon as I click. Photoshop first samples the blue color under the crosshair to choose which color to replace then; because green is now my Foreground color, all blue pixels that fall within the bigger circle surrounding the crosshair turn green.

I need to keep my mouse button pressed down and drag the Color Replacement Tool over the remaining blue parts to turn the rest of the balloon green. If I keep the crosshair above the blue balloon, only the blue color will turn green and don’t stray into other image areas.

If I mistakenly move the crosshair outside of the balloon and over the yellow wall behind it, Photoshop samples the wall’s color and begins turning it to green as well. When this happens, click Ctrl+Z (Windows) / Command+Z (Mac) on your keyboard to undo your last brush stroke, or press Ctrl+Alt+Z (Windows) / Command+Option+Z (Mac) as many times as necessary to undo numerous brush strokes, and then go on.

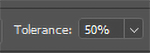
Step 6: Set Tolerance
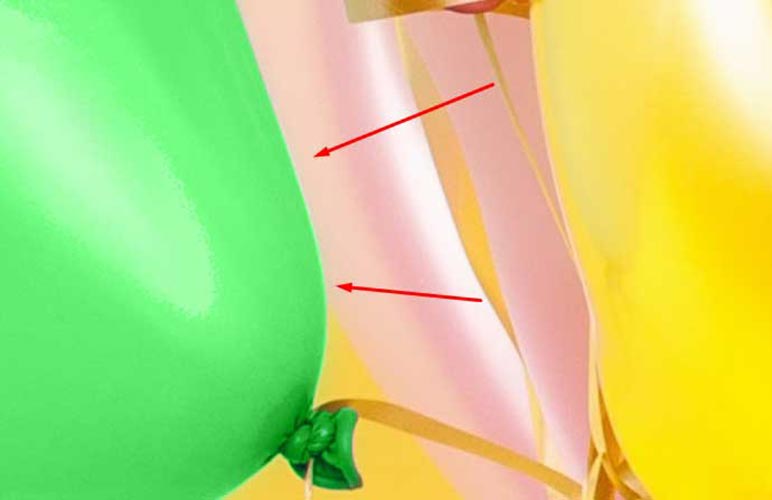
As I paint over the balloon, everything appears to be going smoothly. That is until I reach the borders. If you look closely, you can detect some faint blue fringing that the Color Replacement Tool has an issue.
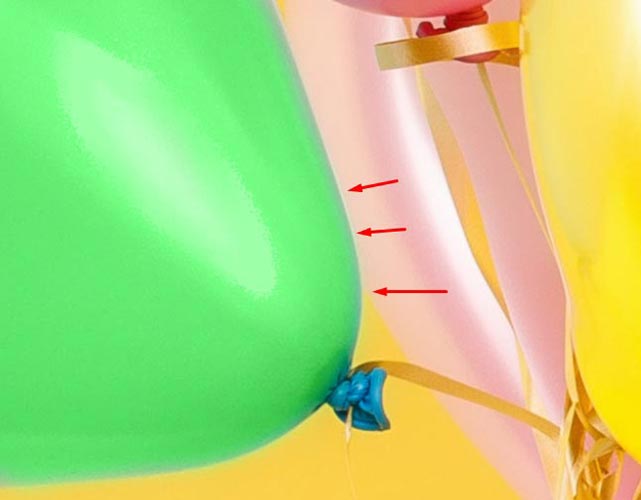
I noted a few moments ago that we have numerous possibilities for changing the behavior of the Color Replacement Tool in the Options Bar. Tolerance is one of these alternatives. Photoshop uses the Tolerance option to determine how varied a color can be from the sampled color before replacing it with the Foreground color. The default setting is 30%, which is usually a decent start. Unfortunately, in this case, it’s not high enough for Photoshop to add the shade of blue exactly down the balloon’s margins.
I’ll raise my Tolerance value to 50%, allowing the Color Replacement Tool to affect a wider variety of hues. You can have any percentage according to your requirements.
I’ll undo my previous action and try again. As you can see in the below image that the Color Replacement Tool can remove the blue fringing better this time,
I’ll continue painting over the remaining areas, and as you can see, our blue balloon miraculously transforms into the green. It was possible with the Color Replacement Tool and a slight rise in the Tolerance setting.

This tutorial is an easy process to change the color of an Object by Photoshop color replacement tool. To get more essential tutorials, please follow our blog.
